|
How to Lay Laminate Flooring
1, Lay Laminate Flooring:
.jpg)
Unlike porcelain or ceramic tile, laminate installs dry (no grout, no mortar) and does not need difficult cutting with a special saw. Unlike solid hardwood floor, that needs to be nailed down. laminate snaps together--a floating floor unattached to the subfloor. Laminate installation is much like putting together a large puzzle.
2,Lay Planks Out "Dry" First:
.jpg)
Many guides to laminate floor installation advocate making all sorts of mathematical calculations and maps before even pulling out the first board.
If this is a small to medium floor, one tactic is to open up a couple of boxes and make a preliminary layout on a well-swept floor prior to rolling out the underlayment.
The aim is not to lay out the entire floor. Instead, lay out planks side by side across the room (as shown in this photo), snapping planks together. This helps you see how many rows it will take, and helps you practice joining planks.
Then do a length of planks end-to-end, snapping ends together.
Whatever you do, avoid snapping planks together both at the ends and sides. This will create a "lock" that is difficult to undo and may damage the tongue or groove.
If you are satisfied, pull up the planks and stack them in an adjacent room
3, Roll Out Underlayment and Seal Together:
.jpg)
Flooring manufacturers always recommend putting down underlayment before laying the laminate. This thin foam helps to absorb sound; provides a thermal barrier; makes it easier to walk on the laminate, and helps the flooring bridge minor gaps and bumps.
Underlayment is always a default choice. However, if your subfloor is flat and will always remain as dry as a bone, underlayment is superfluous.
4,Laying the First Row of Laminate Flooring:
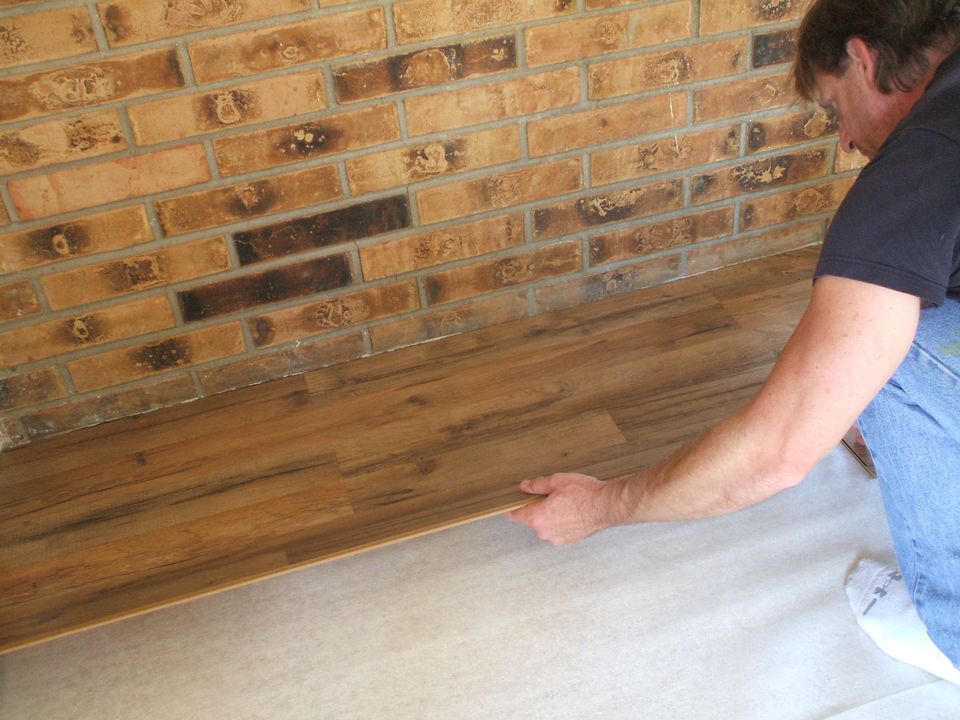
Cut the tongue from the wall-side boards with your circular or table saw.
Begin your first row on the longest wall, with the former tongue side against the wall. Start on the right side and work leftward.
Expansion Gaps
Lay down a full-size plank against the wall, then space it 1/4" away from the wall. If you feel more comfortable, you can place spacers between the flooring and the wall to maintain this distance.
Otherwise, planks will stay in place well enough without spacers. After you havea few rows down, the flooring will be so heavy that it won't slide.
Consult flooring instructions for recommended expansion gap widths. Most guides tend to overstate the width needed. If your gap width is too much, you will end up causing yourself frustration down the road when you install baseboards.
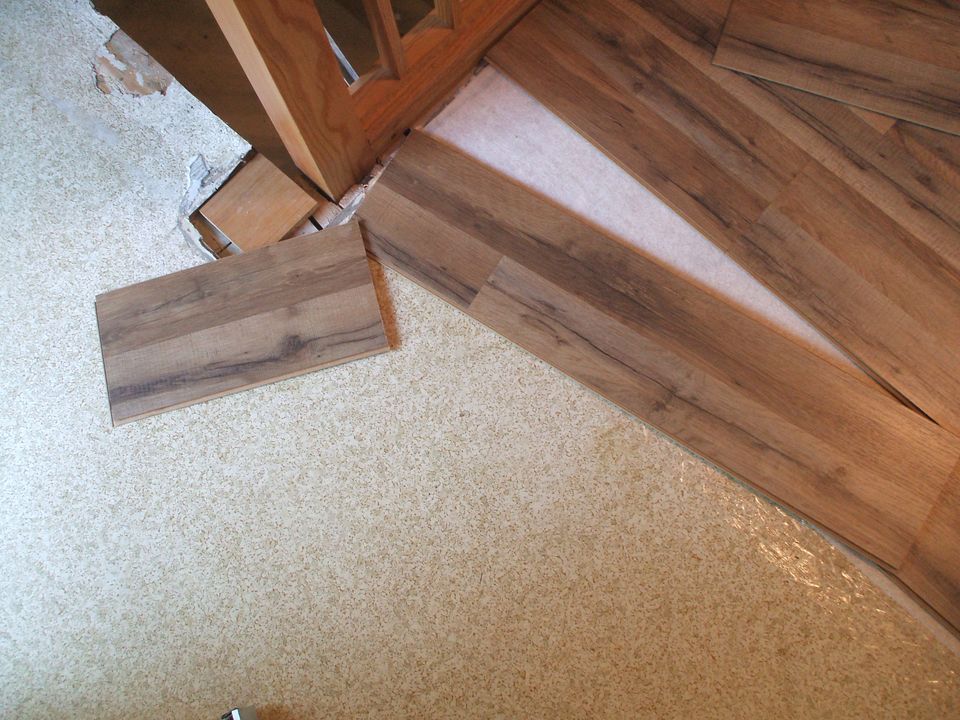
5,Cut or Rip the Planks
Don't stress about cutting or ripping laminate. The wood is soft and it doesn't matter very much how wiggly your cuts are because every single cut edge will eventually be hidden. Table saws always produce the best cuts, but you can use a circular saw (I recommend a lightweight cordless saw) or even a hand saw.
Why Ragged Doesn't Matter (So Much)
Your cuts will be covered over with baseboards, trim, or transition strips. You will never have an exposed cut end.
That's not to say you shouldn't try to keep your cuts close to your pencil mark. If you deviate too much (1/4" or so), you will go beyond the area covered over by the materials listed above.
Mark and Cut
With your contractor's pencil and straight edge, mark your cut line firmly. For rips, you can clamp your board as shown here with spring-loaded clamps onto a work table edge or a railing. For cuts, the same thing except turn the board 90 degrees.
With your free hand, steady the cut-off end so that it does not fall on its own.
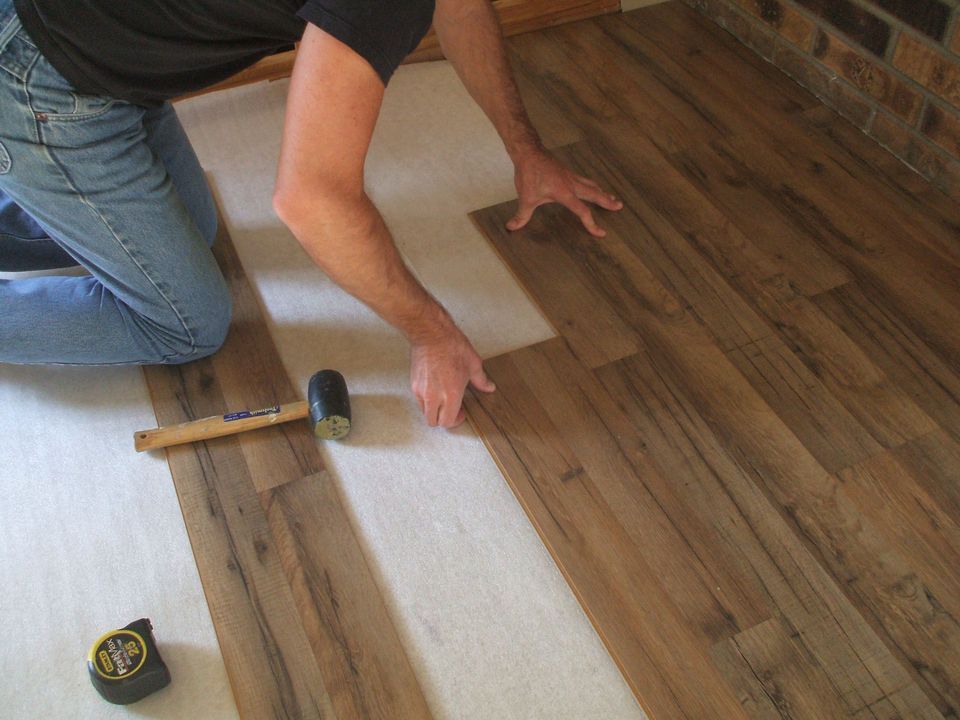
6, Lay Laminate Floor: Move Cut Piece to Next Row:
Once you reach the end of the first row, the last plank will be too long. Measure the length needed and transfer that measurement on a full-size plank, measuring from the right to left side.
This is important so that you don't cut off the tongue end of the plank. You want to preserve the tongue so that it will lock into the end of the first row.
In this photo, you can see the end piece. To its left is the part that I have cut off. The cut-off piece will get shifted to the next row down. Our next step illustrates this process.
7,Laminate Plank Layout Process:

This diagram shows the process for laying your laminate floor. Moving from right to left, your last row piece will always be cut off.
That cut-off piece will be shifted down to the next row, moving it all the way to the right to start that row.
8,Stagger Your Planks:
Your rows of laminate planks should have this type of staggered, sawtooth appearance.
Seams in one row should never meet up with seams in an adjacent row because this is structurally unstable.
It's best to keep cut pieces no less than 16 inches long. If you have a good, stable, flat subfloor, you can probably push this length down to under a foot--but only in a pinch.
9,Tilt Planks at 45 Degree Angle to Place Them:

Laminate planks, such as this Swiftlock brand, often have a locking mechanism that requires you to first tilt the board up at around 45 degrees. You'll feel the plank ever-so-minutely shift into place into the lower plank.
It's a bit harder than it seems, and this is why you practiced with this earlier.
10,Close Up Shows Gap in Laminate Planks:
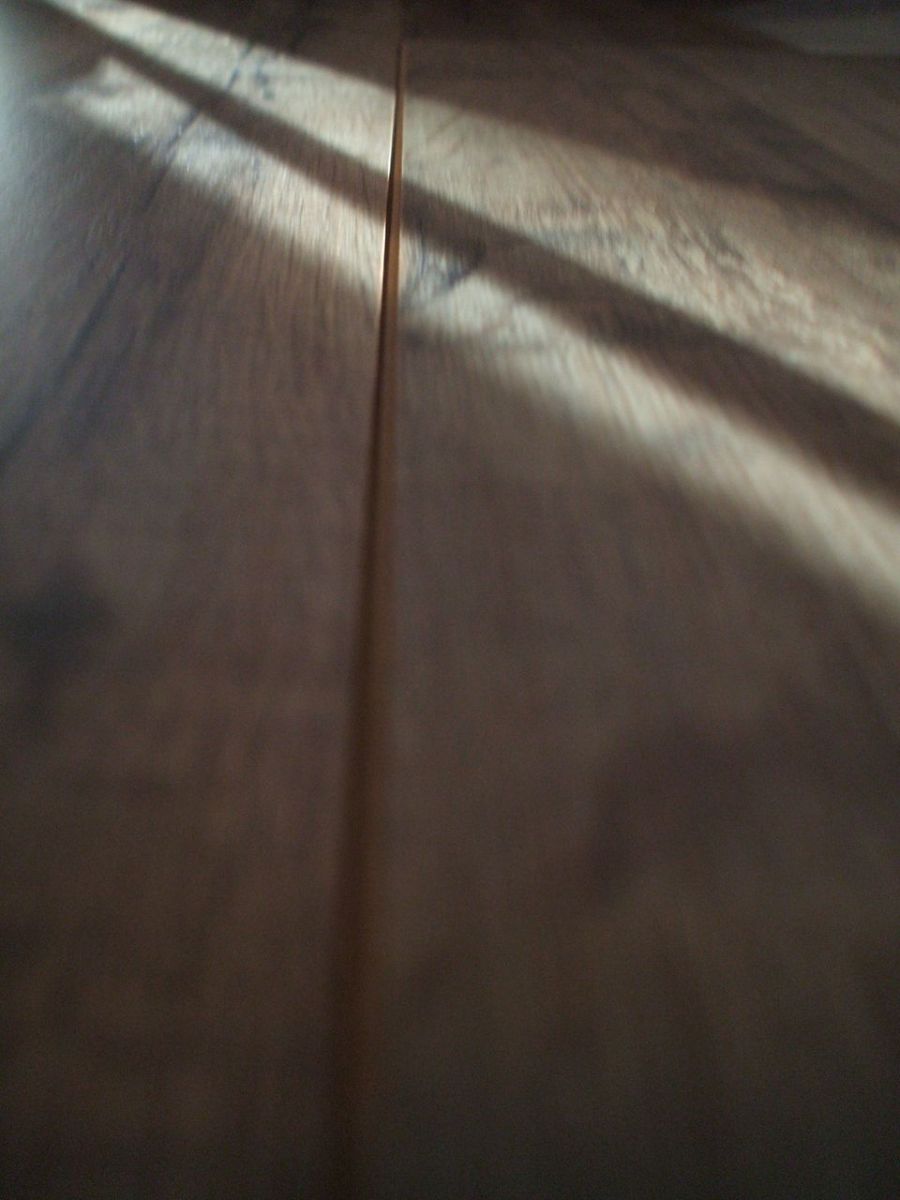
Laminate is one type of flooring where gaps between planks are anathema. Laminate is so prone to water damage in the base fiberboard area that you will need to seal this off by making sure the planks are tightly fitted.
If you have a gap, the reason is almost always because you hadn't tilted the plank up high enough in the previous step.
This image shows an unacceptable gap. Remedies:
---If this is just a single plank, tilt the plank up higher and then bring it down again.
---If you have a row of planks connected end- to- end, tilt the whole row up and reinsert.
11,Butt Ends of Planks Tightly

It's difficult to get the side ends of the planks tight yet not so tight that you end up chipping the fiberboard or top wear layer. To me, this is the hardest part of this project.
Begin as shown here, with the "hinging" parts tight against each other. Slowly bring it down--but don't force it in place just yet--testing to make sure that there isn't too much friction between the two butt ends. You won't be able to bring it all the way down (that's the next step).
12, Use Rubber Mallet to Join Butt Ends of Planks:
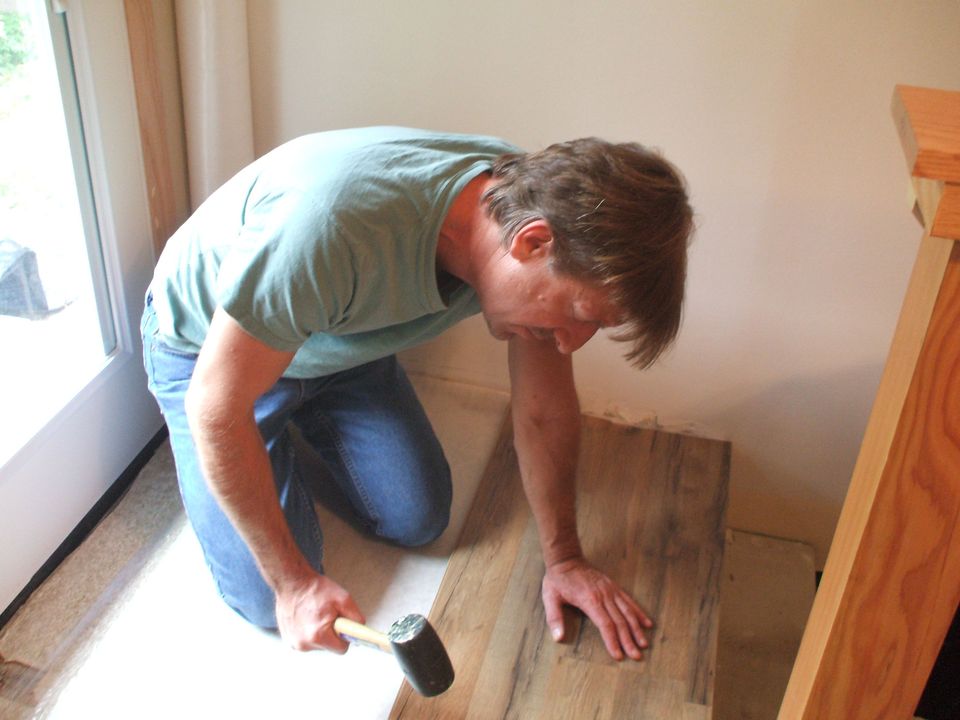
Rap the the seam firmly and decisively with your rubber mallet, just two or three sharp raps. If it takes more than about three strikes, the plank ends are too tightly fitted. You may damage the planks if you rap more.
Find that the two just won't meet, no matter how hard you pound? One likely scenario is that you might accidentally be trying to join two planks that don't have complementary tongues and grooves. In other words, you might have inadvertently picked up a board with a cut end instead of a tongue or groove end.
13, Laying the Last Row of Ripped Planks

Unless you are very lucky, you will need to rip your last row of planks.
Mark your board lengthwise, making sure you keep that 1/4" expansion gap between the plank and the wall. Cut and tilt into place as shown.
Even if you have a small space like this cabinet overhang, you should still have enough room to angle the board up to get it into locking position.
-
-
-
|